
Photo Galleries allow you to display more than one image at a time in an organized fashion on your website. Photo Galleries can be attached to Pages or Blog Posts, and always display at the end of the Page or Blog Post content.
Create a Photo Gallery
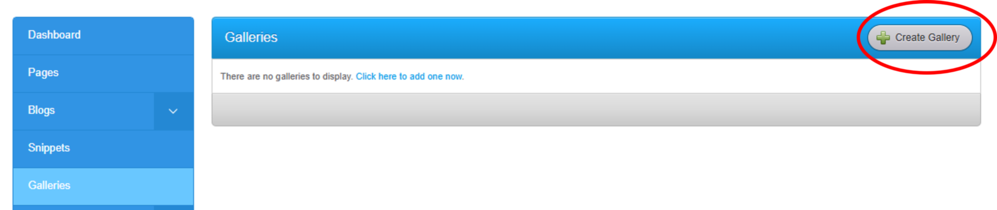
- Go to the "Galleries" tab
- To create a new Gallery click 'Create Gallery'. You can also edit an existing Gallery by hovering over the Gallery and selecting 'Edit Gallery'.
3.
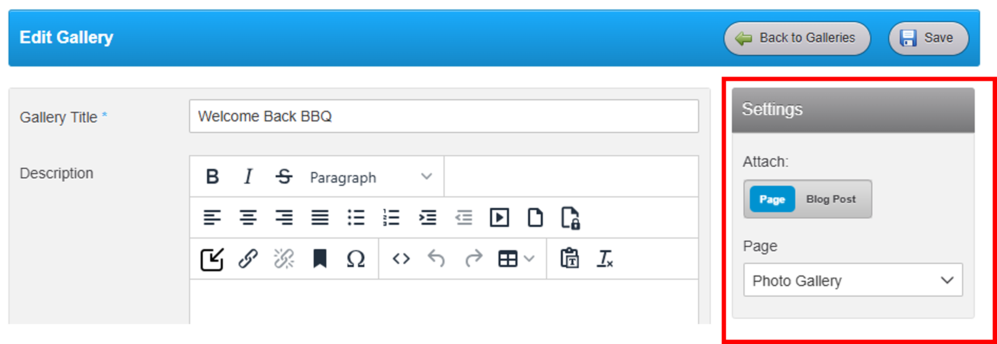
Edit the Gallery's title, description, and select where it will be displayed on your website (a Page or Blog Post).
- Optional: If you create multiple galleries, you can add them all to the same page or Blog Post.
- You can also create a new "Photo Gallery" page as a place to display all your galleries. (Use the "Drag to Reorder" to rearrange the galleries on the page.)
4. Click 'Save'
Add, Remove, or Edit Photos
Adding Photos
- Go to the "Galleries" tab
- Click the name of the Gallery you would like to edit (blue text)
- Click 'Upload Photos' to add new photos to the Gallery
- Drag and drop photos from your computer or click to upload photos (you can select multiple photos)
Allowed files: PNG, JPG or JPEG, and GIF - Click 'Back to Manage Galleries'
Editing Photos
- Click on “Add Caption” to change that photo’s caption.
- Click on “Add Alt Text” to change that photo’s image alt text.
- Drag and drop images to reorder them.
- Click ‘Rotate’ on a photo to change that photo’s orientation.
Deleting Photos
- Click 'Delete' on individual photos to delete them.